SharePoint
Obtaining Access
SharePoint works with a UT EID username and password.
1. Get a UT EID:
- Go to https://idmanager.its.utexas.edu/eid_self_help/ and select Get at UT EID
2. Send your new UT EID to your Flemings group contact. Your Fleming’s group contact will work with UT IT to get you approval to use SharePoint.
3. SharePoint Access requires AAD access. Flemings staff will initiate a UTIG IT request on your behalf to grant AAD access to your UT EID. Please ensure you inform your Fleming’s group contact the expected expiration date for your request. This is usually the end of the project for which you need SharePoint access.
Accessing SharePoint outside of the UT “Austin” domain – Setting the correct Domain
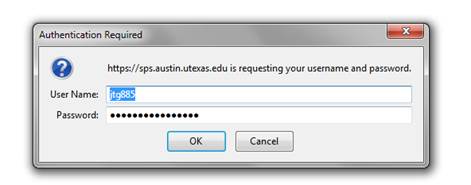
When attempting to login to UT SharePoint from outside the UT Austin domain you will need to set your domain to Austin. To do this simply add “\austin\” before your UT EID when logging in to SharePoint. For example, if your UT EID is utx78705 you would login using “\austin\utx78705”. The domain name should appear on the login window.
From time to time AAD access for external members will expire. Should this happen, you will see a pop-up authentication request like the one below but you will not be able to login. To resolve, submit a request to gripe@ig.utexas.edu and ask if your AAD access has expired. Please be sure to include your UT EID with the request.
Editing SharePoint files
The most used part of SharePoint for Flemings’ group is the ability to edit a document or PowerPoint simultaneously. This works best with Word and PowerPoint. Simultaneous co-editing is not permitted with Excel. Mac users may experience issues editing: we recommend making sure you have the most recent version of the software installed on your system.
View a file from a SharePoint Library
- On the SharePoint site, open the library where your file is located.
- Click on the title of the file to preview in the browser
Edit a file by opening it from a SharePoint site
- On the SharePoint site, open the library where your file is located
- Click on the title of the file to preview in the browser
- Click the arrow that appears next to “Edit Document”, and then click Edit in (program name). For example, to edit a Word document, click Edit in Word.
- Note: there is an option to edit online. This doesn’t give the same functionality as editing in the program and should only be used if the person cannot open the software.
- If a message appears that asks whether the file is safe to open, click OK if you are comfortable opening the file.
Note: After you save the file, other people can see the changes that you made after they refresh their browsers, unless approval is required for the library, the file is a draft version in a library that tracks both major and minor versions, or the file is still checked out.
Mapping a SharePoint drive to your computer
- Open your computer (from start menu)
- Right click on Computer (in menu bar on left)
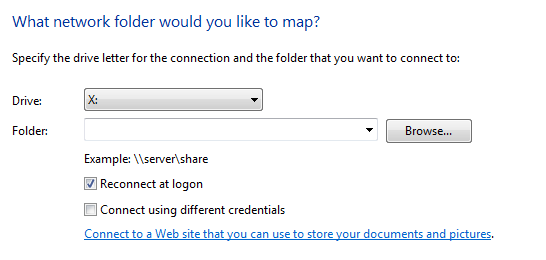
- Select “Map network drive…”
- Click “Connect to a Web site….”
- A new window opens up, click “Next”
- It will say “Where do you want to create this network location?”
- Click Next
- Type the address of the website in the box provided:
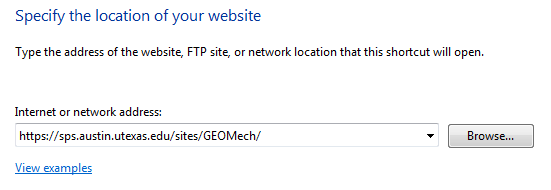
- After you enter the address (make sure to include https:// at the beginning), click “Next”
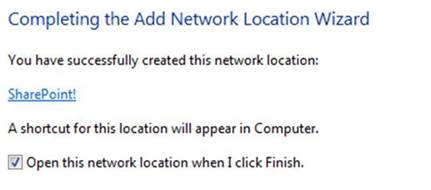
- On the next screen, you can give the location a name (ex: SharePoint), then click “Next”
- The next screen should say that you have successfully created the network location, and you can click “Finish,” and open the network location:
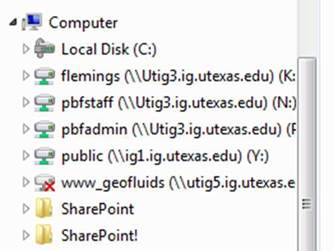
- The network opens up in Windows Explorer, and you can see it listed under “Computer” in the left-hand menu bar: